Description
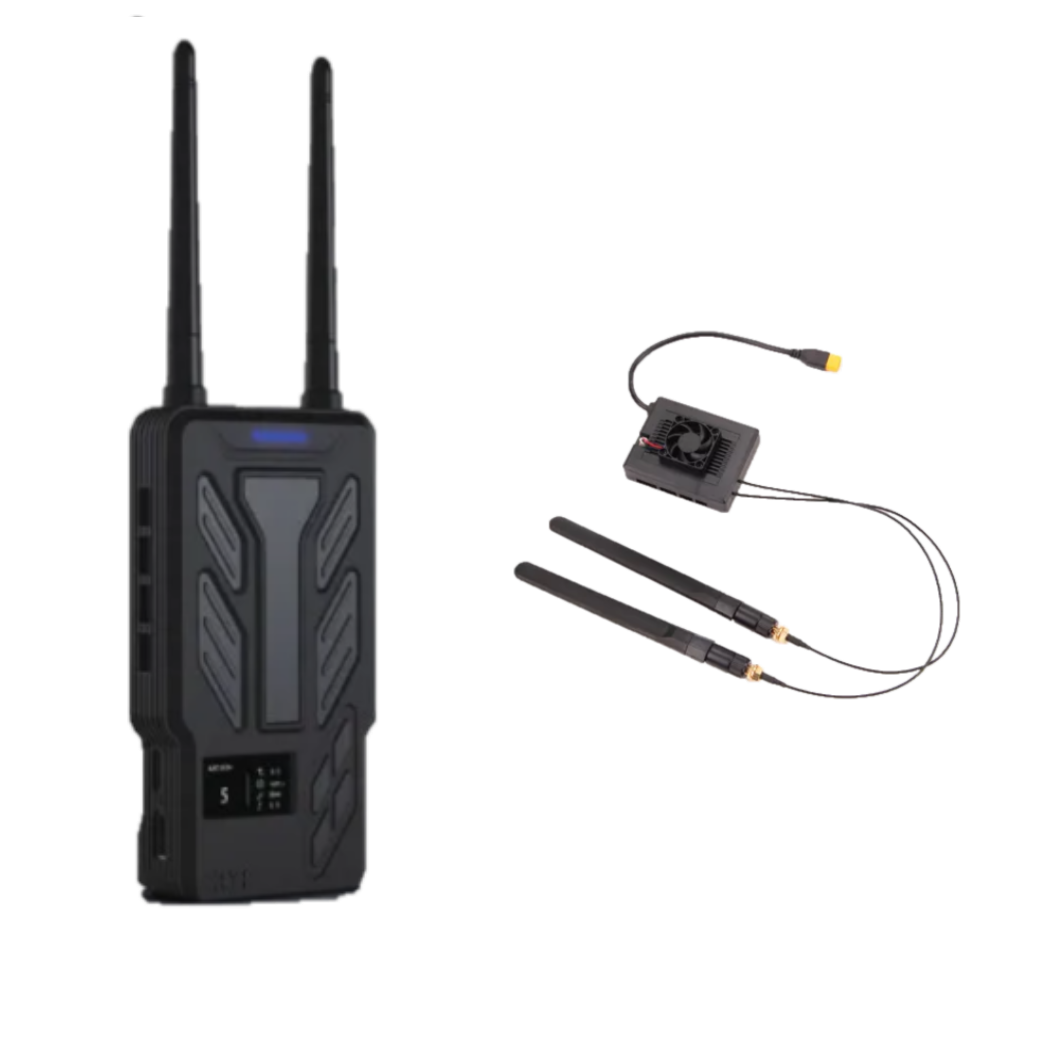
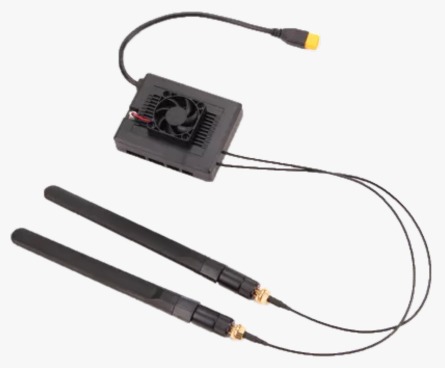
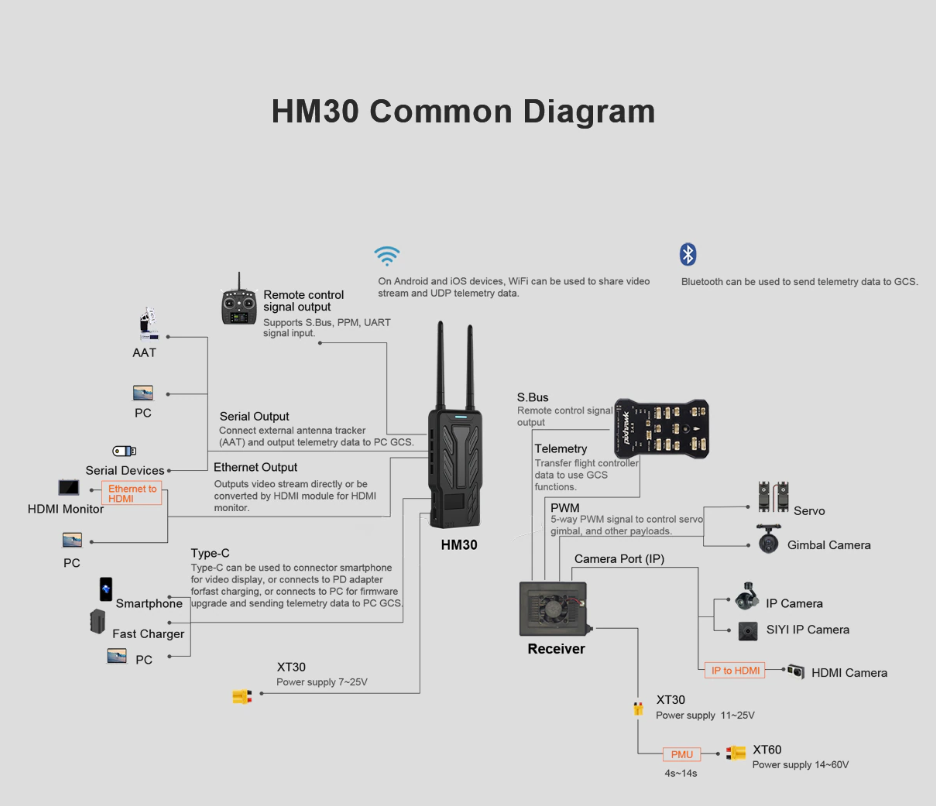
The setup of a HM30 system is simple and will run in a minute or two. Install the antennas, connect the wiring, apply power, bind the Air Unit with the Ground Unit and you are all set to go.
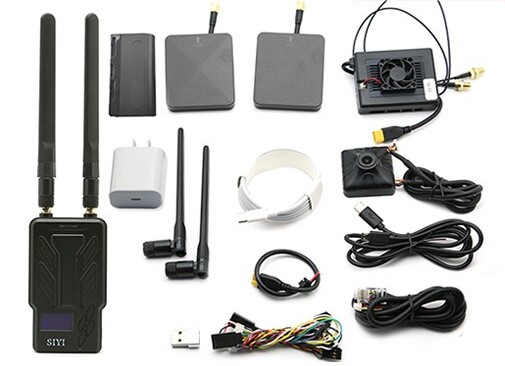
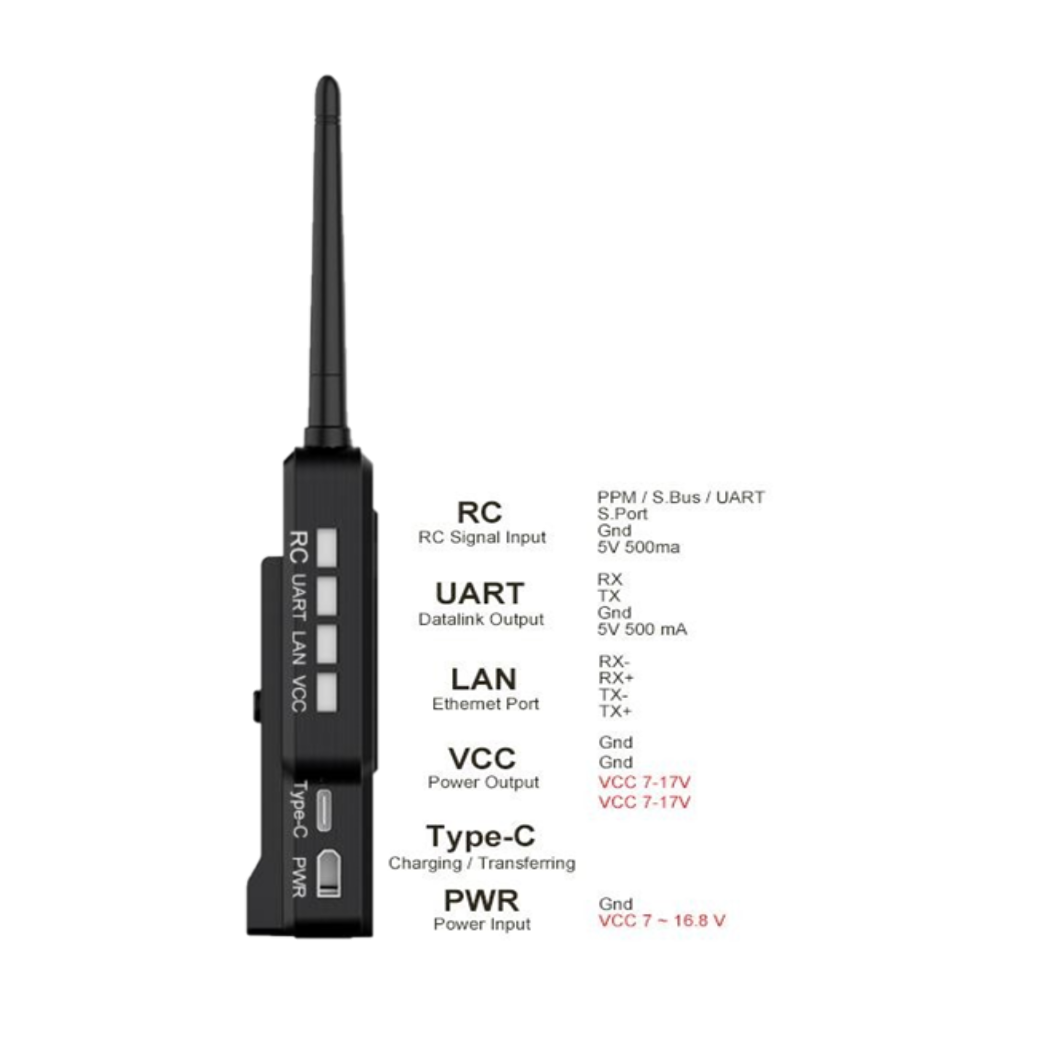
- On the side of the Air Unit, optionally you can connect an IP camera (comes with the kit) and/or connect your onboard computer with a Telemetry port (MAVlink), set the right baud rate, power up and on the air side you are finished. Please note; install the right voltage to power the Air Unit. Recommended a 4S LiPo battery with XT30 connector.
- On the Ground Unit, there are various options to connect your Ground Control Station or Video Display Device. The video stream is available via the RTSP protocol. For a computer, tablet or phone, the video stream can be accessed either via the internal WiFi port of the HM30 Ground Unit, this is short range, or install an external USB WiFi adapter on in the USB-C port of the GU for a longer range. The LAN port can also be used to access the video stream as well. For the Android OS, there is a FPV app available to download for an integrated view of one video stream with the Telemetry Data as overlay.
- For the MAVlink Telemetry, this can be accessed via the LAN as UDP stream or Bluetooth as COMx port.
- Only one Ground Unit can be bound to an Air Unit but multiple Air Units can be bound to one Ground Unit.
- To have two Ground Units on one Air Unit, please see the Dual Combo product.

